


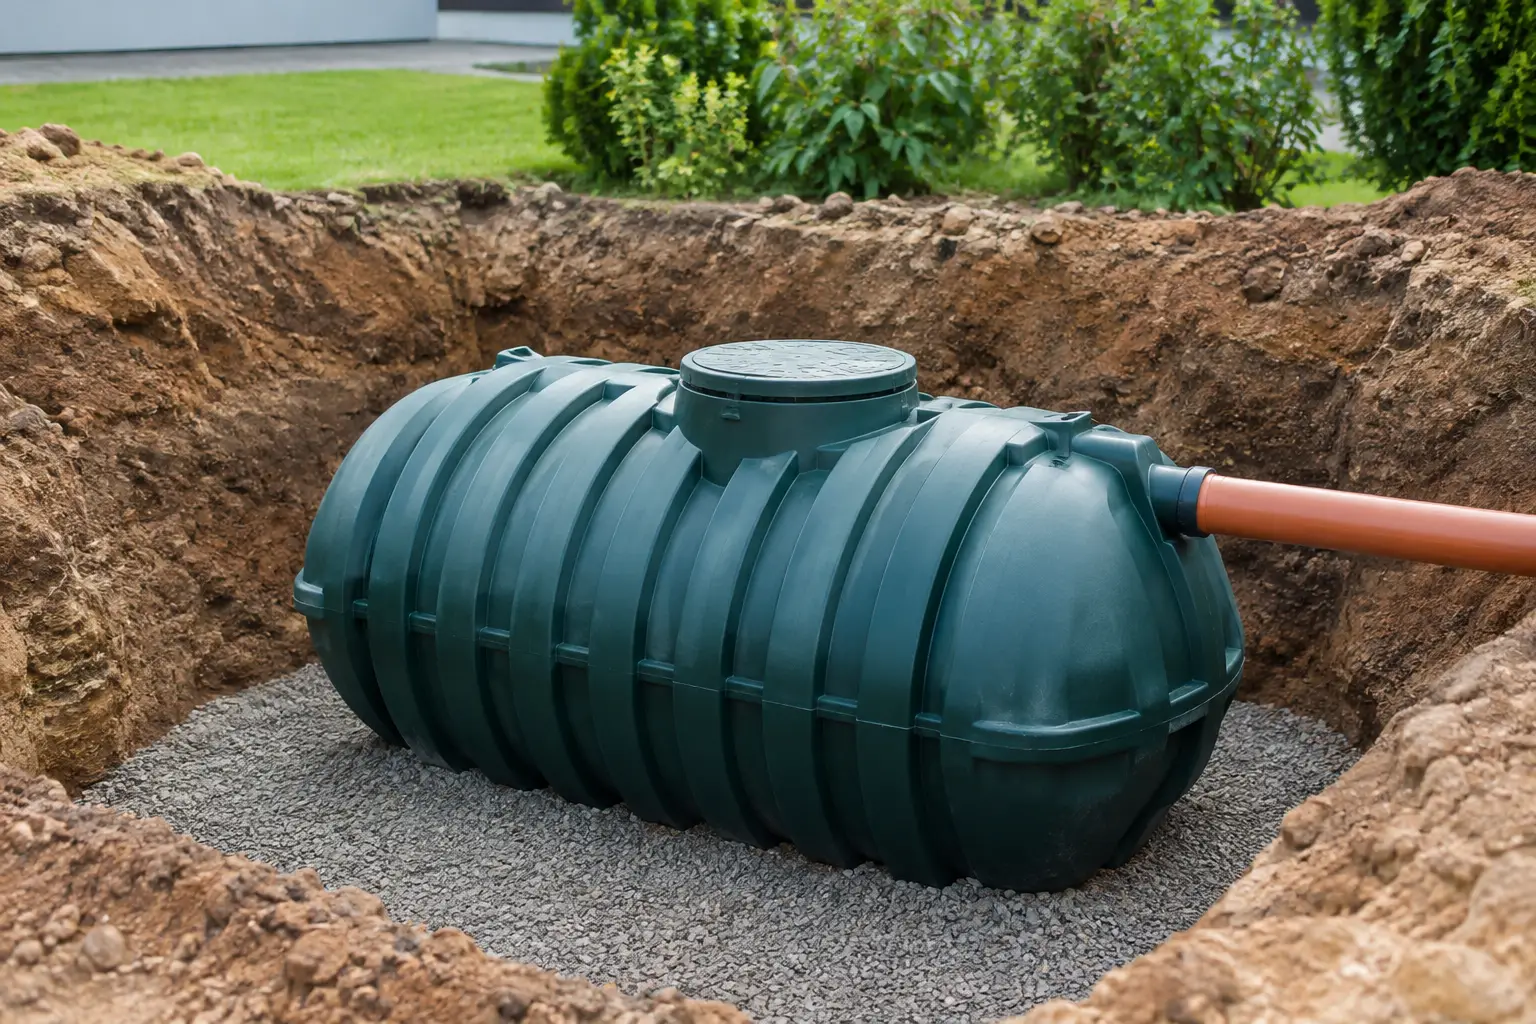
A tank does not need to take over the backyard to make a serious contribution to your water supply. Underground water tank installation keeps valuable space free for a lawn, driveway, shed or garden while storing rainwater out of sight. It can be a smart choice for compact Central Coast blocks, new builds with tight setbacks and rural properties where protected water storage is needed.
The trade-off is that an underground tank is not a simple drop-and-drop job. Excavation, soil conditions, groundwater, drainage, traffic loading and correct backfilling all affect how the tank performs over the long term. Getting these details right before the excavator arrives is where most costly problems are avoided.
Start with the right tank and capacity
First, work out what the stored water needs to do. A tank supplying garden taps and toilet flushing has different demand from a whole-house rainwater system, livestock supply, irrigation or fire preparedness. Roof area, local rainfall, household demand and the reliability of mains water all influence the capacity that makes sense.
Underground tanks are commonly selected where above-ground access is limited or appearance matters. Poly underground tanks are popular for residential applications because they are corrosion-resistant and relatively straightforward to handle, while concrete tanks may suit some high-load or larger-capacity projects. The right material depends on the site, intended use and the manufacturer’s installation requirements.
Do not assume a tank can sit under a driveway simply because it is underground. A tank installed in a landscaped area is exposed to very different loads from one beneath a car space, farm track or area used by a ute, tractor or delivery vehicle. If traffic is expected, choose a tank and lid system specifically rated for that loading, and follow the engineered installation detail supplied for it.
Check approvals and services before excavation
Before planning an underground water tank installation, check local council requirements, building conditions and any rules applying to stormwater, overflow and potable water connections. Requirements vary between councils and developments, particularly where the tank forms part of BASIX commitments, a new-home approval or an on-site water management plan.
The excavation area must also be checked for existing underground services. Dial-before-you-dig information is useful, but it does not replace careful site verification by the contractor. Power, gas, water, sewer, communications and drainage lines can all be present where they are least convenient.
Access deserves the same attention. Consider where the excavator will enter, where spoil will be stockpiled, how the tank will be unloaded and whether there is enough room to safely lower it into place. On sloping blocks, plan how surface water will be directed away from the work area during and after construction.
Choose a site that stays dry and accessible
The best location is not always the closest point to the downpipes. The tank needs a stable excavation, a practical pipe run and access to the lid, pump and filters for future servicing. It should also be positioned so overflow can discharge safely to a lawful drainage point without creating erosion, pooling or nuisance for neighbours.
Groundwater is one of the biggest considerations. An empty or partly empty underground tank can be vulnerable to uplift where the water table is high or seasonal groundwater collects around the excavation. In these conditions, an engineer or qualified installer may specify anchoring, ballast, drainage or a different tank solution. Never improvise with a few extra bags of concrete after the hole is dug.
Poorly drained clay soils can create similar pressure around the tank after heavy rain. Sandy soils may drain freely but can require careful excavation support and bedding preparation. A local installer who understands the site conditions can identify risks that are not obvious from the surface.
Keep the lid and riser above finished ground level
The access cover should finish above surrounding ground so stormwater, dirt and lawn runoff do not enter the tank. This is especially important when the stored water is used inside the home. A raised, secure lid also makes inspection, cleaning and pump servicing much easier.
Keep the area around the lid clear of permanent landscaping. A decorative garden bed looks good on day one but becomes inconvenient when a filter needs attention or a pump line requires repair.
Excavate and prepare the base properly
Tank manufacturers provide specific details for excavation clearance, bedding material and backfill. These instructions are not optional. The hole needs enough working room around the tank for correct placement and compaction, rather than being dug to the exact shape of the tank.
The base must be level, stable and free from rocks, sharp objects and construction debris. A prepared sand or fine gravel bed is often used where specified, but the material and thickness must match the tank supplier’s requirements and site conditions. An uneven base can place point loads on the tank and lead to distortion or damage.
If the excavation encounters rock, unstable fill, seepage or groundwater, stop and reassess before installing the tank. Removing a little more material without a plan can make the situation worse. This is the point to involve a suitably qualified installer, geotechnical adviser or engineer where required.
Backfill evenly while the tank is supported
Backfilling is where underground installations are won or lost. The tank should be placed level, then filled with water progressively as approved backfill is placed around it in even layers. This helps balance pressure across the tank wall and reduces the risk of deformation.
Use only the backfill material nominated by the manufacturer. Excavated clay with large clods, rubble, rocks or building waste is not suitable simply because it is already on site. Each layer should be placed and compacted carefully around the tank, taking care not to damage fittings, risers or pipework.
Mechanical compaction close to a tank can cause damage if it is not done to the approved method. The same applies to adding heavy soil, paving, retaining-wall loads or construction equipment over the installed tank. Follow the tank documentation and any engineering drawings exactly, particularly for trafficable installations.
Set up clean rainwater collection and overflow
An underground tank needs the same collection basics as an above-ground rainwater system: properly sized gutters, leaf protection, a first-flush device where appropriate, screened inlets and mosquito-proof openings. The difference is that faults can be harder to spot once pipework is buried, so quality fittings and sensible access points matter.
The inlet should deliver water without stirring sediment on the tank floor. Overflow needs sufficient capacity for intense rainfall and must direct excess water away from buildings and the excavation. On many sites, overflow is connected to a lawful stormwater system or dispersed in accordance with the approved drainage design.
For water used in the home, fit appropriate filtration before the water reaches internal plumbing. Sediment cartridges, carbon filtration and UV treatment each have a role, but the right combination depends on the water source and use. Filtration is not a fit-and-forget purchase: cartridges and UV lamps need scheduled replacement to keep performing as intended.
Match the pump to the job
A good underground tank needs a pump that suits the demand, not just the cheapest unit available. A garden-only system may need modest flow, while a home with multiple bathrooms, irrigation zones or a rain-to-mains arrangement needs enough pressure and flow to avoid frustrating performance.
Submersible pumps are often a tidy option for underground tanks because the pump sits inside the tank and reduces external noise. Surface-mounted pressure pumps can also work well where there is a protected, accessible pump location. Consider dry-run protection, pressure control, isolation valves and a bypass arrangement for servicing.
If mains water is available, a compliant rain-to-mains switch can keep selected fixtures supplied when the tank level is low. This arrangement needs correct plumbing design to protect the mains supply and meet applicable regulations. A licensed plumber should carry out regulated connections.
Plan for maintenance from the beginning
An underground tank may be out of sight, but it should never be out of mind. Check screens and gutter protection regularly, inspect the lid seal, clean out leaf debris and make sure overflow points remain clear. Monitor pump cycling, pressure and filter condition so small issues do not become a no-water weekend.
Tank cleaning intervals depend on roof cleanliness, surrounding trees, water use and the level of pre-filtration. If sediment builds up or water quality changes, arrange inspection rather than guessing. Safe confined-space procedures are essential – no one should enter a water tank without proper training, equipment and controls.
With trusted products and more than 30 years of water-tank experience, Central Coast Water Tanks can help you match the tank, pump, filtration and accessories to the job. Shop online and save on a complete water system that is designed for your property, from coast to country.
A well-installed underground tank gives you quiet, protected storage without sacrificing usable land. Give the groundwork the attention it deserves, and the system will be far easier to rely on when the next dry spell arrives.